1123 Dog Hill Lane

Wilson, KS 67490

+34 785 658 5316

24/7 Customer Support

Mon - Fri: 9:00 - 17:30

Online store always open

DIY Installation of Luxury Vinyl Plank (LVP) Flooring: A Step-by-Step Guide

Design, Materials|

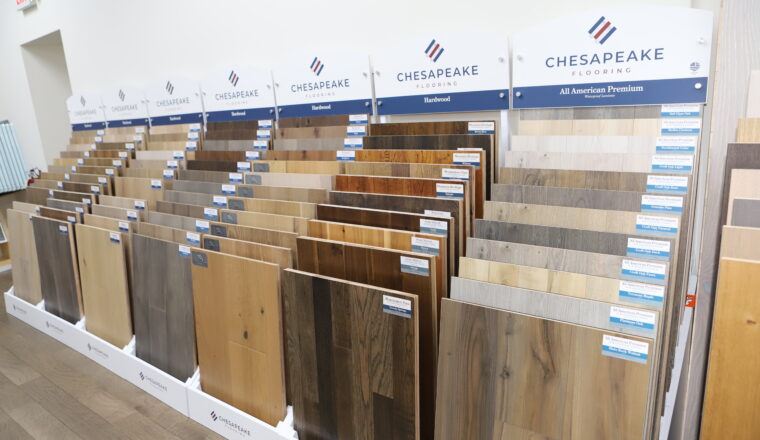
Luxury Vinyl Plank (LVP) flooring has become a popular choice for homeowners due to its durability, affordability, and ease of installation. Unlike traditional hardwood or tile, LVP can be installed as a DIY project with the right tools and preparation. To ensure your flooring looks professional and lasts for years, follow this guide for correct installation methods.

Step 1: Gather Your Tools and Materials

Before starting your project, gather the following tools and materials:

  • LVP flooring
  • Measuring tape
  • Utility knife
  • Spacers
  • Straight edge or T-square
  • Rubber mallet
  • Pry bar
  • Pull bar
  • Underlayment (if required)
  • Cleaning supplies (broom, vacuum, mop)
  • Pencil or chalk for marking cuts


Step 2: Prepare the Subfloor

A properly prepared subfloor is critical for a smooth and long-lasting LVP installation.

  1. Clean the Subfloor: Remove all debris, dirt, and dust using a broom and vacuum. For concrete subfloors, ensure there is no grease or residue.
  2. Check for Levelness: Use a level to check the subfloor. A flat, level substrate is essential to prevent gaps, uneven wear, and locking system failures. Fill low spots with a leveling compound and sand down high spots. Skipping this step can compromise the integrity of your flooring and result in costly repairs later.
  3. Repair Damage: Fix any cracks or holes in the subfloor to prevent uneven installation.
  4. Moisture Barrier: If you’re installing over concrete or in a moisture-prone area, lay a vapor barrier to protect the LVP.


Step 3: Acclimate the LVP

Luxury Vinyl Planks need to acclimate to the room’s temperature and humidity. Store the planks in the installation room for 48 hours before starting. This prevents buckling or gaps after installation.


Step 4: Plan the Layout

  1. Measure the Room: Calculate the square footage and add 10% for cuts and waste.
  2. Decide the Direction: Lay the planks parallel to the longest wall or in the direction of natural light for the best visual effect.
  3. Dry Fit: Lay a row of planks without adhesive or locking them to ensure your layout avoids thin slivers at the edges. Adjust as needed.


Step 5: Install the LVP

  1. Start in a Corner: Begin in a corner of the room with the tongue side of the plank facing the wall.
  2. Use Spacers: Place spacers between the planks and the wall to maintain a 1/4-inch expansion gap. This allows the flooring to expand and contract with temperature changes.
  3. Snap and Lock: For floating LVP, insert the tongue of one plank into the groove of the next at a slight angle and press down until it clicks into place. Use a rubber mallet to ensure a secure fit.
  4. Cut Planks: Measure and mark the plank where it needs to be cut. Use a utility knife and straight edge to score the plank, then snap it along the line.
  5. Stagger Joints: Offset the end joints of adjacent rows by at least 6 inches to create a natural, staggered pattern.
  6. Last Row: Use a pull bar to snugly fit the last row of planks.


Step 6: Add Finishing Touches

  1. Remove Spacers: Once all the planks are installed, remove the spacers.
  2. Install Trim and Molding: Cover the expansion gap with baseboards or quarter-round molding.
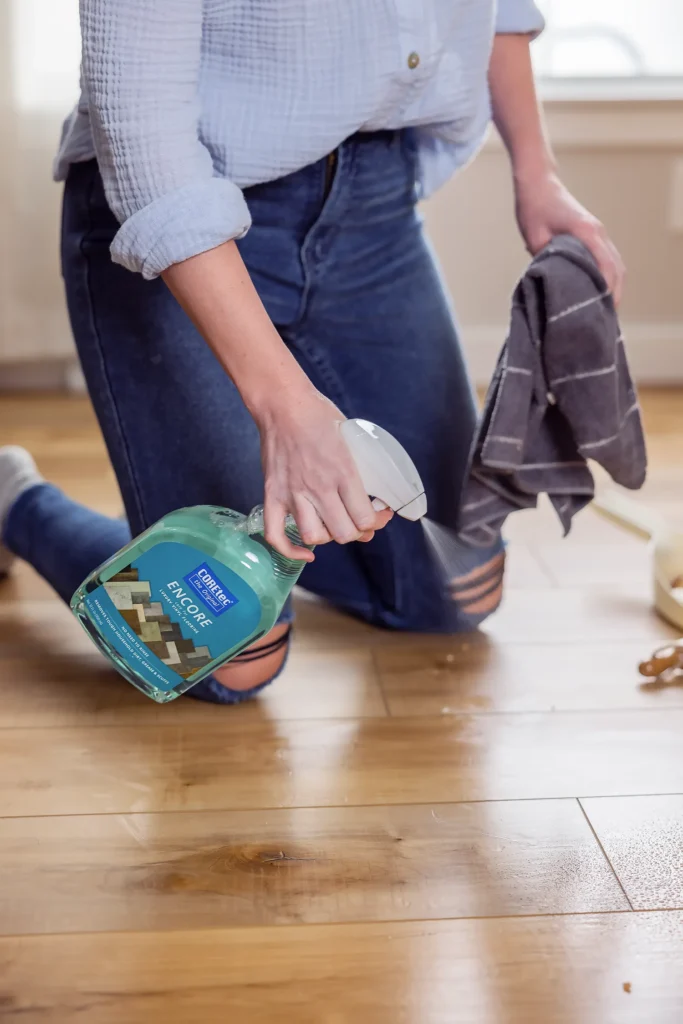
  3. Clean the Floor: Wipe down the floor with a damp mop to remove dust and debris.


Tips for Success

  • Work Slowly: Rushing can lead to mistakes. Take your time to ensure planks are aligned and locked properly.
  • Check Alignment Frequently: Ensure each row remains straight and square.
  • Be Mindful of Cuts: Use leftover pieces when possible to minimize waste.
  • Room Transitions: Use transition strips between rooms or different flooring types for a clean finish.


Final Thoughts

Installing LVP flooring is a manageable DIY project that can transform your space. By following these correct methods, you’ll achieve a professional-looking result that’s both durable and stylish. Take your time, plan carefully, and enjoy your new floors!

Read More →

LVT vs. Ceramic Tile: Which Flooring Option is Best for You?

Design, Materials|

When it comes to durable and stylish flooring options, both luxury vinyl tile (LVT) and ceramic tile are top contenders. Each offers unique advantages and drawbacks, making the choice between them depend on your priorities and the specific needs of your space. In this blog, we’ll compare LVT and ceramic tile across several key factors: warmth, installation, cost, and appearance.

Warmth and Comfort

LVT (Luxury Vinyl Tile): LVT is known for its warmth and comfort underfoot. Unlike ceramic tile, which can feel cold, LVT has a softer surface and can even mimic the texture of natural wood or stone. It’s an excellent choice for homes in colder climates or for areas where you’ll be standing for long periods, such as kitchens.

Ceramic Tile: Ceramic tile tends to be cooler to the touch, which can be a plus in hot climates but less appealing in colder regions. The hard surface offers little give, making it less comfortable to stand on for extended periods. However, ceramic tile can be paired with radiant heating systems for added warmth.

Winner: LVT for natural warmth and comfort, ceramic tile if paired with radiant heating.

Ease of Installation

LVT: One of LVT’s biggest advantages is its straightforward installation process. Many LVT products feature click-and-lock or peel-and-stick systems, making them ideal for DIY projects. LVT can often be installed over existing floors, further simplifying the process and reducing costs.

Ceramic Tile: Installing ceramic tile is more labor-intensive and usually requires professional expertise. It involves laying a mortar bed, cutting tiles to fit, and grouting the seams. The process is time-consuming and can add significantly to the overall cost if you hire a contractor.

Winner: LVT for its ease of installation and DIY-friendly options.

Cost

LVT: LVT is generally more affordable than ceramic tile, both in terms of material costs and installation expenses. Prices typically range from $2 to $7 per square foot, depending on the quality and design. Installation is also less expensive, especially if you opt for a DIY approach.

Ceramic Tile: Ceramic tile is more expensive, with material costs ranging from $3 to $10 per square foot. Professional installation can add $5 to $15 per square foot, making ceramic tile a higher upfront investment.

Winner: LVT for budget-friendly material and installation costs.

Appearance and Design Versatility

LVT: LVT offers an impressive array of designs that closely mimic natural materials like wood, stone, and ceramic. Thanks to advancements in printing technology, LVT can achieve realistic textures and colors. While it’s highly versatile, some purists may still prefer the authenticity of ceramic tile.

Ceramic Tile: Ceramic tile provides unmatched authenticity and a timeless aesthetic. It comes in a wide range of sizes, shapes, and finishes, allowing for intricate patterns and custom designs. Ceramic tile’s natural appeal often enhances the value of a home.

Winner: Tie. LVT excels in variety and realism at a lower cost, while ceramic tile offers authentic elegance and customization.

Durability and Maintenance

LVT: LVT is highly durable and resistant to scratches and stains, making it ideal for busy households with kids or pets. It’s also water-resistant, with some products offering full waterproofing. However, it can be prone to dents under heavy furniture.

Ceramic Tile: Ceramic tile is incredibly durable and can last decades with proper care. It’s resistant to scratches, stains, and water. However, the grout between tiles requires regular cleaning and sealing to prevent discoloration and mold growth.

Winner: Ceramic tile for longevity and overall durability, LVT for lower maintenance requirements.

Final Verdict

  • Choose LVT if: You prioritize comfort, easy installation, and affordability. LVT is perfect for those seeking a budget-friendly, stylish flooring option that’s easy to maintain.
  • Choose Ceramic Tile if: You value authenticity, long-term durability, and don’t mind the higher cost and professional installation. Ceramic tile is ideal for high-traffic areas or spaces where elegance is key.

Both LVT and ceramic tile offer distinct benefits, so the best choice depends on your specific needs, budget, and aesthetic preferences. Whether you’re renovating your kitchen, bathroom, or living space, either option can enhance your home with style and practicality.

Read More →

How COREtec Luxury Vinyl Plank Flooring Enhances Your Kitchen

Design, Materials|

COREtec vinyl plank flooring is made for all the rooms of your house, especially the kitchen. Here’s what you get when you choose COREtec luxury vinyl planks and tiles over other flooring options…

Warm, Natural Beauty
COREtec vinyl plank flooring is designed to mimic the look and feel of hardwood and tile floors.

Tile and hardwood floors are beautiful – full stop. They both radiate a natural charm that never goes out of style, which is exactly why our team of professional designers work so tirelessly to mimic and recreate their beauty, just without the installation and upkeep hassles. 

COREtec planks and tiles come in various colors that mimic popular wood species and tile formats, so you can select the shade and style that best matches your aesthetic. We have a wide range of luxury vinyl flooring options, from the lightest ash to the darkest walnut and marble visuals. 

Easy Maintenance
Natural hardwood floors are sensitive to the presence of moisture (to put it delicately). Because of that, it can be tough to clean them – even something like regular mopping can damage the floors over time. That’s also true for laminate, which is only water resistant. 

COREtec kitchen vinyl flooring is much easier to maintain because its 100% waterproof, kidproof, petproof design can be mopped as frequently as needed to keep floors clean and attractive.  

Sadly, tile floors aren’t much better in this regard. Just like installing tile floors, cleaning grout is toughhhhh – like resume-worthy tough. But with COREtec tile visuals, there aren’t any grout lines to clean. You’re welcome. 

P.S. To make cleanup even easier (because who wants to spend all their time cleaning?), we offer a specialty COREtec floor cleaner. It’s tough on dirt but gentle on surfaces, which makes it safe and effective at cleaning your floors. 

Durable, Waterproof Design
The kitchen is one of the wettest rooms in the house. Most have both a sink and a dishwasher, and plenty of water is spilled at both locations (not to mention spills that also happen during cooking).  

These types of mishaps aren’t small issues. If left for too long, moisture can easily cause damage to hard surface floors like hardwood and laminate.

However, luxury vinyl plank flooring like COREtec is designed to withstand regular exposure to water, helping to prevent the warping, cracking or cupping seen in other floors. 

Read More →